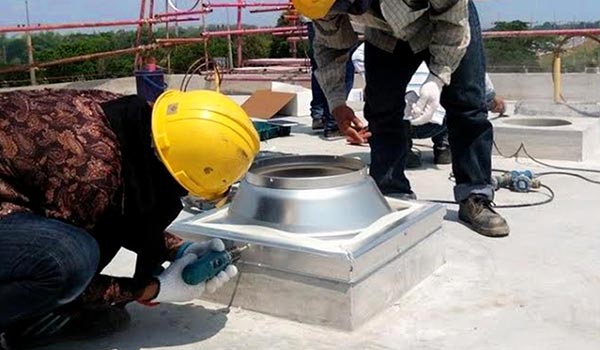
PROFESSIONAL INSTALLATION
Quick, 2 Hour Installation
Natural Light Tubular Skylights can be installed in about an two hours. Each kit comes with all hardware for a 4 foot long installation. Extra light pipe and angle adapters are also available.
Installation requires:
Natural Light has many certified dealers nationwide who can assist you in choosing the correct model for your home and professionally install it.
DO-IT-YOURSELF INSTALLATION
Requires Basic DIY Skills
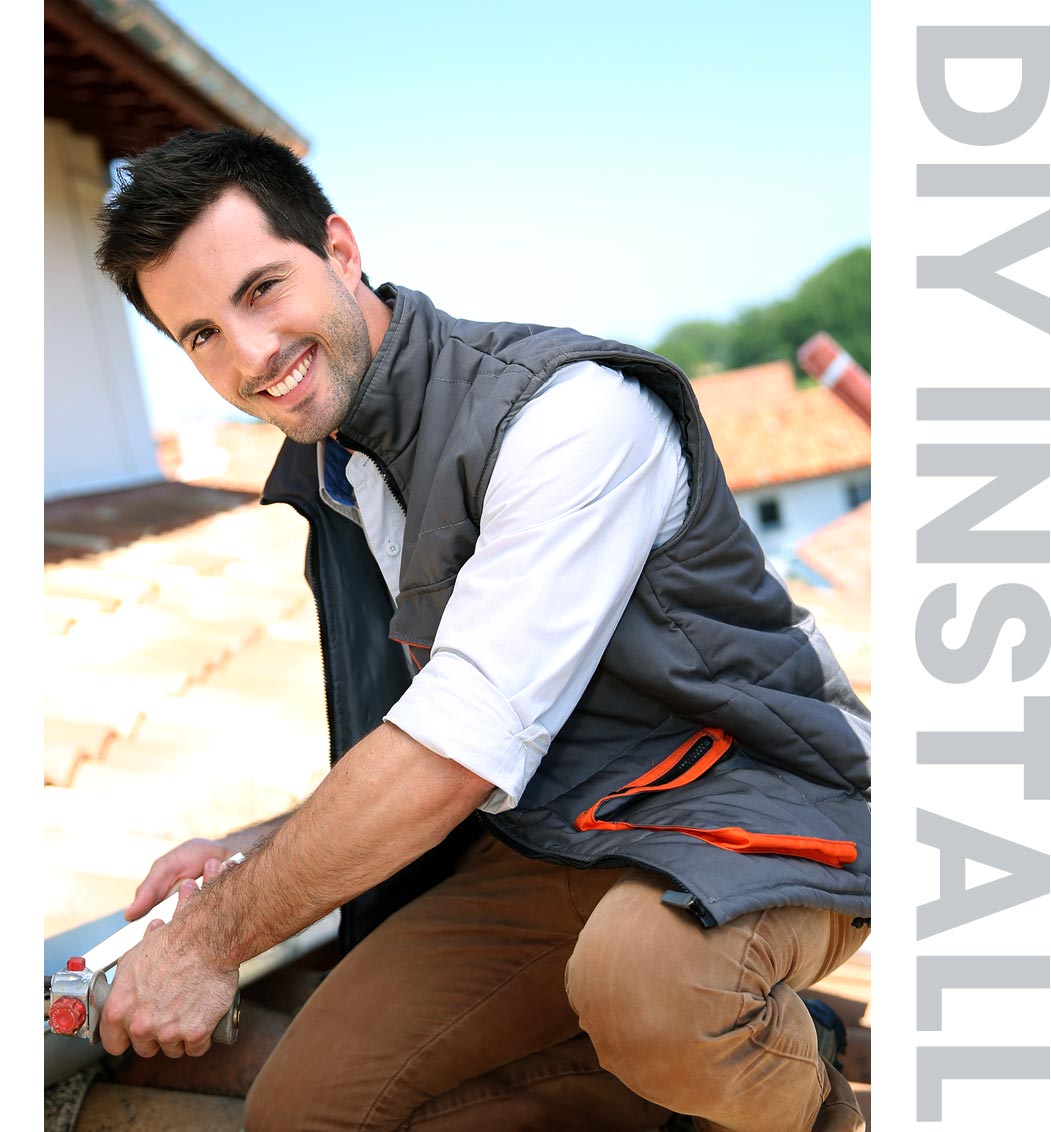
If you are a handy, do-it-yourself homeowner, you can easily do the job yourself! Installation requires basic DIY skills including using a reciprocating saw to cut a hole in your roof.
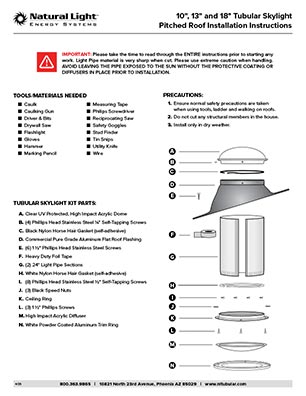
Natural Light Tubular Skylights were designed to be leakproof and maintenance free. The most crucial part of the installation is attaching and sealing the flashing on the roof to ensure a weather-tight seal. We provide step-by-step illustrated instructions to assist you. Visit our downloads page.
Installs on All Roof Types and Slopes
No matter what type of roof you have, we have a tubular skylight for you!
Asphalt Shingled Roofs
The most common roof type for tubular skylights. Depending on the slope of the roof, use the Pitched Roof Model for medium to steep slopes (10", 13" or 18") or the Flat Roof Model for low slope or flat roofs (10", 13" 18" or 21").
Tile Roofs
Most tile roof installations will require our moldable flashing skirt. To accommodate thicker tiles, use a Turret Extension to raise the dome 3" higher than the standard model.
Metal Roofs
For metal roofs, choose either our Curb Mount Model (10", 13, 18" or 21") where the tubular skylight is attached to a pre-built curb or our Flat Roof Model (10", 13, 18" or 21")
Foam Roofs
Choose from either our Flat Roof Model or Curb Mount Model for modified bitumen, built-up rubber membrane, vinyl or polyurethane foam.
Suspended Ceilings
For warehouses or factories with open ceilings, use our Warehouse Model available with either a flat roof or curb mount flashing.
Drop Ceilings
For offices that have a drop ceiling, use our custom designed Drop Ceiling Model that fits perfectly into standard acoustic ceiling grid systems.
Summary of Installation
The outline below is a summary of the steps involved. Please read the provided instructions prior to beginning your installation and follow the steps carefully to ensure proper installation.
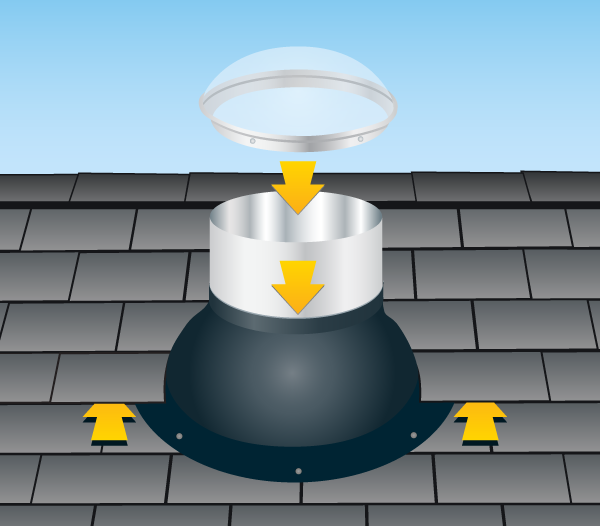
On the Roof
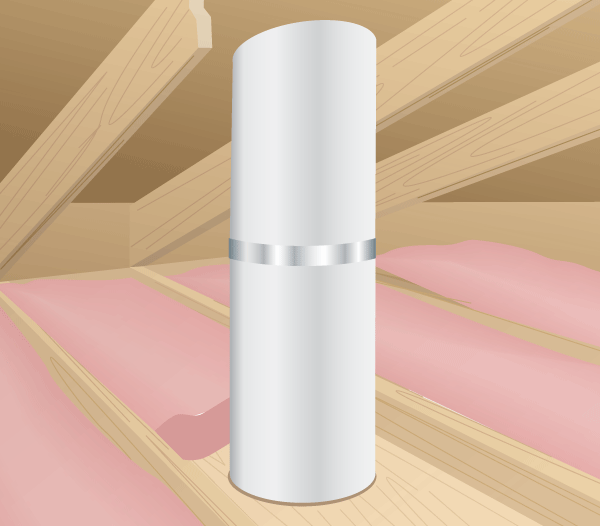
Inside the Attic Space
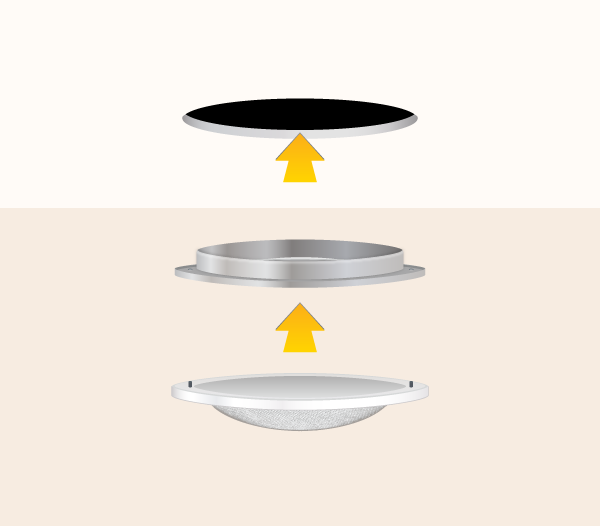
Inside the Home
TOOLS NEEDED: Caulking Gun, Caulk, Drill, Drywall Saw, Flashlight, Flat Bar, Hammer, Ladder, Marking Pencil, Measuring Tape, Reciprocating Saw, Safety Goggles, Screwdriver, Stud Finder, String, Tin Snips, Utility Knife, Wire
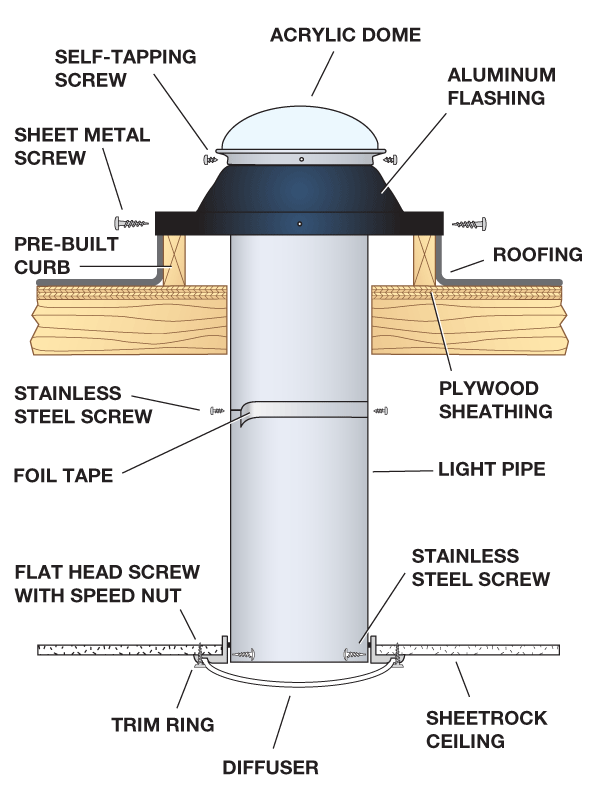
Installation Cutaways
Installation procedures vary between the pitched roof, flat roof and curb mount models. Please follow the detailed instructions for your model and roof type.
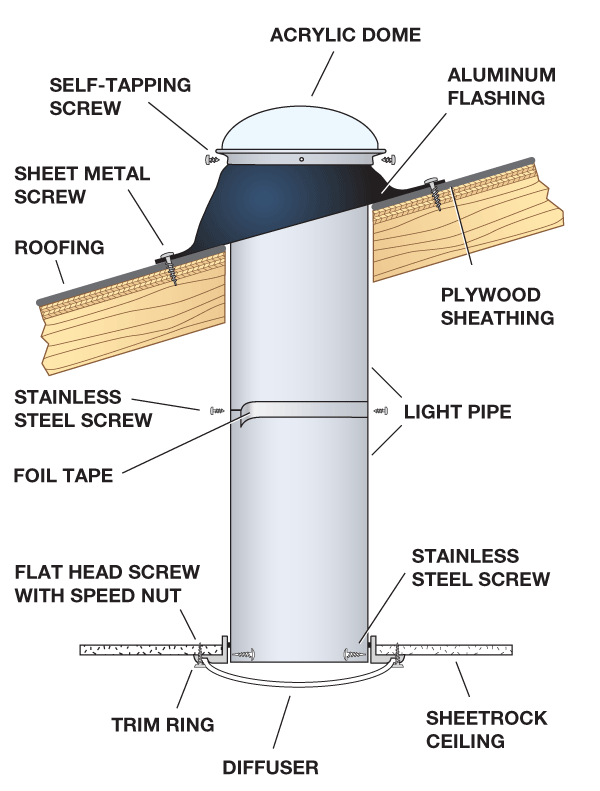
PITCHED ROOF CUTAWAY
